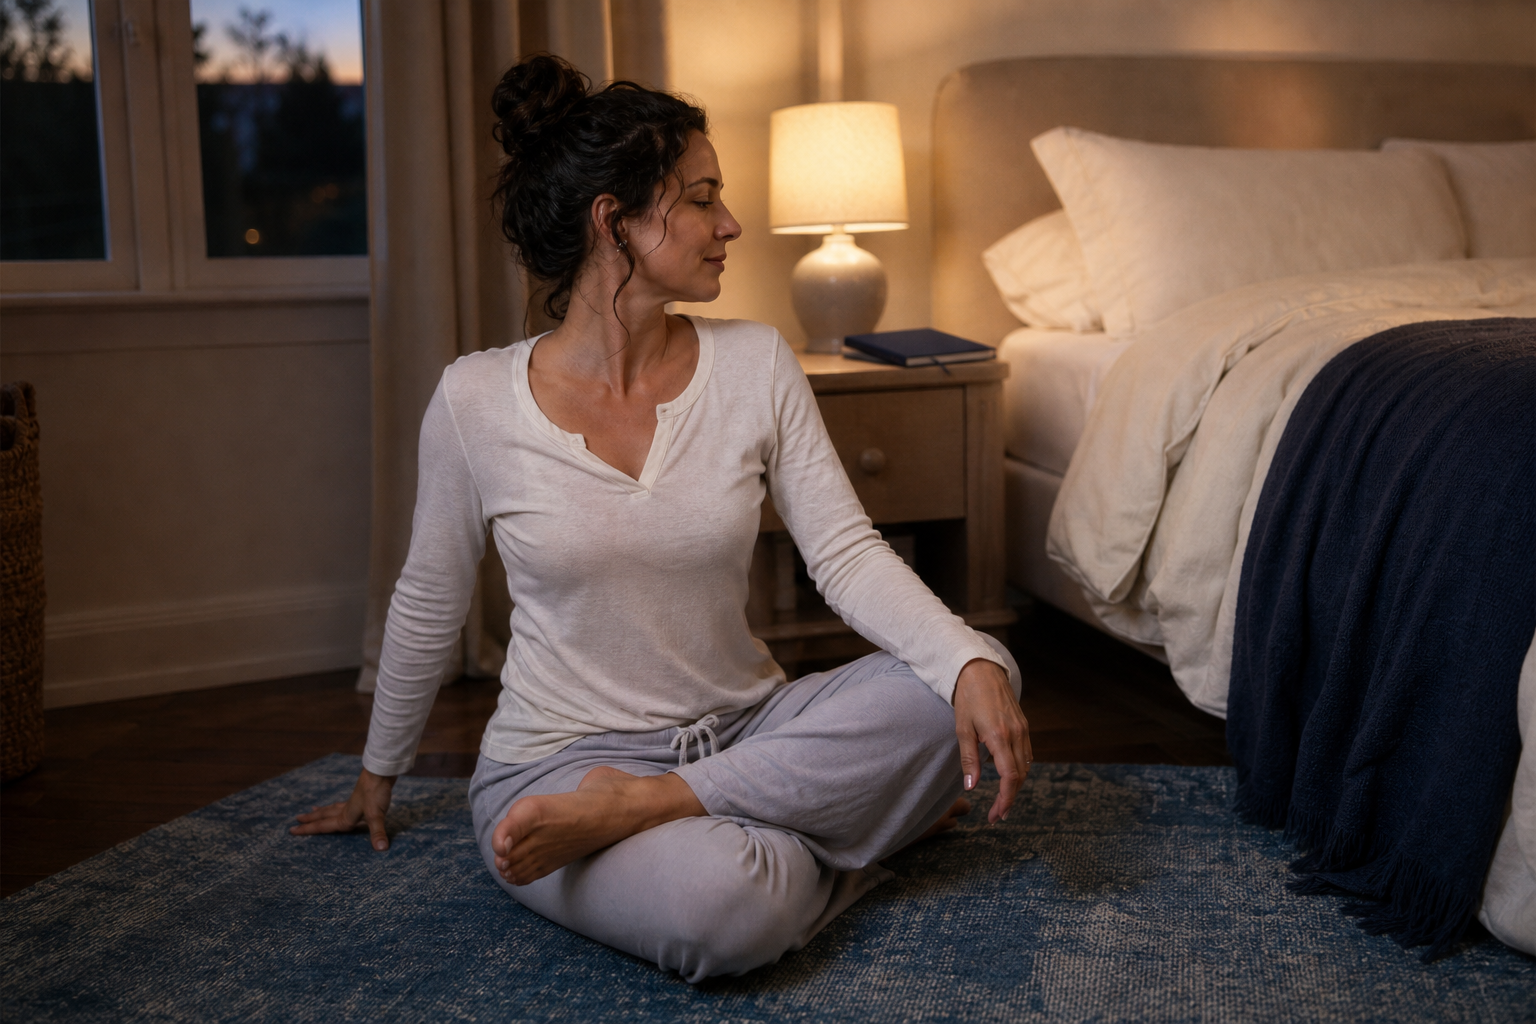
After a day of typing, meetings, or commuting, try this seven-move sequence for your chest, shoulders, upper back, hip flexors, and glutes. These gentle sleep stretches take about 8 to 10 minutes and require no gym equipment.
Here, “sleep stretches” simply means stretches done during your nighttime wind-down. They can give you a structured way to move after desk work, but they are not guaranteed to make you fall asleep faster or treat pain.
These before sleep stretches are deliberately gentle. Stretching before sleep should feel comfortable and easy to stop, especially after a long day sitting.
Quick answer: Start with a few minutes of easy movement, then perform one gentle round of the seven stretches below. Hold most positions for 20 to 30 seconds, breathe normally, and reduce the range or stop if you feel pain, joint pressure, pinching, burning, numbness, or tingling.
Before You Start Your Bedtime Stretching Routine
Stretching works best when your muscles are already warm. If you have been sitting still for hours, walk around your home for a few minutes before beginning. Ordinary evening movement, such as tidying up or taking a short easy walk, can also prepare you for stretches before bed.
Choose a stable, comfortable surface. Carpet or a mat works well for kneeling and reclining positions. A bed can provide support for certain modifications, although a very soft mattress may make balance less predictable.
As you move, use these checks:
- Look for mild to moderate tension in the intended muscle area, not pain inside a joint.
- Keep breathing normally. If you have to hold your breath, reduce the range.
- Move smoothly without bouncing.
- Let your jaw, face, and shoulders remain relatively relaxed.
- Do not force your stiffer side to match your more mobile side.
- Treat the pictured or described endpoint as an option, not a goal.
“Tight” is a useful description of how you feel, but it does not prove that a muscle has physically shortened. More stretching is not automatically better, especially if you are already highly flexible.
7 Sleep Stretches for Tight Hips and Shoulders
Follow the sequence from standing to reclining. One round is enough for a concise nighttime routine. A second round is optional if every movement remains comfortable.
1. Doorway Chest and Front-Shoulder Stretch
This first move opens the front of the upper body after you have spent the day reaching toward a keyboard or screen.
- Stand in a doorway and place your forearms against the frame.
- Position your elbows around shoulder height, or slightly lower if that is more comfortable.
- Step or lean forward a small amount.
- Stop when you feel mild tension across your chest and the front of your shoulders.
- Hold for 20 to 30 seconds while breathing normally.
Keep your ribs controlled rather than pushing them forward and arching your lower back. The movement should come from a gentle forward shift, not from trying to create the largest possible stretch.
Make it easier: Lower your elbows or use one side of the doorway at a time.
Stop or skip it if: You feel pinching at the front of the shoulder, pain inside the joint, numbness, or tingling. Move directly to the cross-body stretch instead.
2. Cross-Body Shoulder Stretch
Among the simplest shoulder stretches after desk work, this move can be performed standing or sitting.
- Bring your right arm across your chest.
- Use your left hand or forearm to support the arm above or below the elbow.
- Guide the arm inward gently without pulling directly on the elbow joint.
- Keep your chest facing forward and your shoulder relaxed away from your ear.
- Hold for 15 to 30 seconds, then change sides.
Avoid rotating your whole torso to make the arm travel farther. You are looking for a mild stretch around the back or outside of the shoulder.
Make it easier: Lower the stretching arm or use less pressure from the supporting hand.
Stop or adjust if: The sensation feels sharp or pinchy instead of gently stretchy.
3. Lying T Twist
The lying T twist adds slow upper-back rotation without requiring you to force either shoulder against the floor.
- Lie on your right side with your knees bent and stacked.
- Extend both arms in front of you, with your palms together.
- Slowly open your top arm toward the opposite side as your upper body rotates.
- Follow the moving hand with your eyes if that feels comfortable.
- Return to the starting position and repeat three to five times.
- Change sides.
Move only as far as you can without forcing your knees apart or straining your shoulder. Your top hand does not need to reach the floor.
Make it easier: Use a smaller opening or place a pillow where your top arm can rest.
Stop or adjust if: You feel shoulder pinching, numbness, tingling, or an uncomfortable pull through your lower back.
4. Supported Child’s Pose
Child’s pose can provide a gentle reach through the shoulders and upper back, but the standard floor position does not suit everyone.
- Begin on your hands and knees.
- Slowly move your hips back toward your heels.
- Reach your hands forward while keeping your breathing easy.
- Hold for 20 to 30 seconds.
- Return to hands and knees slowly.
Your hips do not have to touch your heels, and your forehead or chest does not need to reach the floor.
Make it easier: Place a cushion between your hips and heels. You can also stand beside the bed, put your hands on the mattress, and move your hips backward while keeping your knees softly bent.
Skip it if: Kneeling bothers your knees or supporting your weight irritates your wrists. The hands-on-bed version is often more accessible, but it should still feel stable.
5. Half-Kneeling Hip Flexor Stretch
A useful hip flexor stretch after sitting should come from a small shift at the hip, not an exaggerated arch through the lower back.
- Kneel on your right knee with your left foot planted in front.
- Keep your torso upright and lightly tuck your pelvis.
- Gently engage your right glute.
- Shift forward a small distance until you feel a stretch at the front of your right hip or thigh.
- Hold for 20 to 30 seconds, then change sides.
Place a folded towel or pillow under the kneeling knee. Hold a chair or wall if balance feels uncertain.
No-kneeling option: Lie faceup near the firm edge of a bed. Bring one knee toward your chest while allowing the other thigh to extend gently toward the edge. Keep the movement small and avoid pulling aggressively.
If you mainly feel your lower back compressing, return to the starting position, restore the light pelvic tuck, and use less forward movement.
6. Seated Figure-Four Stretch
This seated stretch targets the glute or outer hip without requiring a deep floor position.
- Sit tall on a stable chair or the firm edge of your bed.
- Place your right ankle over your left thigh.
- Stay upright first and notice the sensation around your right outer hip.
- If you need slightly more tension, hinge forward from your hips while keeping your back long.
- Hold for 20 to 30 seconds, then change sides.
Do not press the raised knee toward the floor. Hip flexibility differs from side to side, and the shin does not need to become parallel with the floor.
Make it easier: Remain upright rather than leaning forward. If crossing the ankle over the thigh is uncomfortable, uncross your legs and draw one knee gently toward your chest instead.
The stretch should be felt around the glute or outer hip, not concentrated inside the bent knee.
7. Single Knee-to-Chest Stretch
Finish the sequence lying on your back so you do not have to stand up again between movements.
- Lie faceup with both legs comfortable.
- Bring your right knee toward your chest.
- Hold behind your thigh or around your shin.
- Apply only enough pressure to create a gentle, comfortable position.
- Hold for 20 to 30 seconds, then change sides.
Avoid compressing the hip as far as it can go. A smaller range is still a valid stretch.
Make it easier: Bend the non-stretching leg and place that foot on the floor. This can make the position more comfortable around the pelvis or lower back.
After the second side, release both feet and take a few ordinary breaths before getting up or continuing with your nighttime routine.
When Should You Do Gentle Evening Stretches?
Thirty to 60 minutes before bed is a practical option, not a strict requirement. You can also do the routine earlier in the evening, particularly if stretching close to bedtime feels more activating than calming.
Consistency does not require completing every movement every night. On a busy evening, choose the doorway stretch, cross-body shoulder stretch, half-kneeling hip flexor stretch, and figure four for a shorter round.
The most useful schedule is one that lets you move slowly without turning the routine into another task you have to rush through.
Know When to Reduce the Range or Stop
A comfortable stretch usually feels like a broad pull through a muscle. Reduce the range or stop if you notice:
- Sharp, escalating, or joint-focused pain
- Shoulder or hip pinching
- Burning, numbness, or tingling
- Dizziness or difficulty balancing
- Pain concentrated inside the knee
- New or worsening symptoms during or after the routine
Do not repeatedly push into an uncomfortable position because one side feels stiffer. Persistent or severe pain, weakness, numbness, an active injury, or ongoing sleep difficulty should be discussed with a qualified healthcare professional.
Pregnancy, recent surgery, osteoporosis, joint replacement, balance problems, hypermobility, or an existing health condition can change which positions are appropriate. Seek individualized guidance rather than relying on a general stretching sequence.
Bedtime Stretching Does Not Replace Daytime Movement
These stretches for desk workers provide an evening movement routine, but they cannot cancel out an otherwise motionless day. When possible, vary your position, walk, and take comfortable movement breaks during working hours. Ergonomics, general activity, and appropriate strengthening can matter alongside flexibility work.
For tonight, begin with one easy round. Keep the range modest, breathe normally, and choose the supported version whenever it feels better than the standard position.